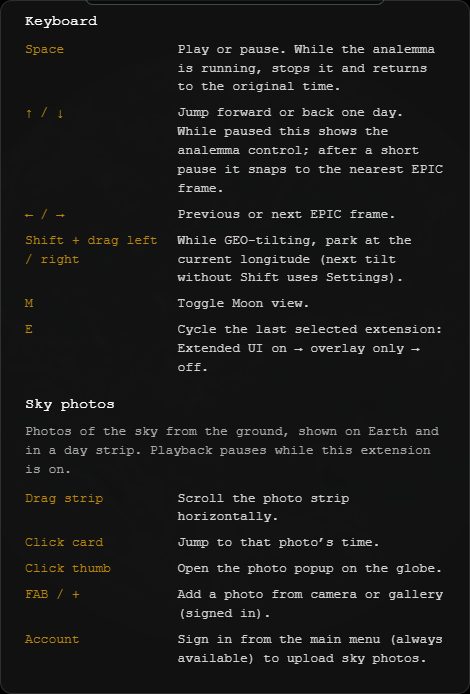
Skypics — User guide
Photos of the sky from the ground, shown on Earth and in a day strip. Playback pauses while this extension is on.
Turn it on from Menu → Extensions → Skypics. The corner icon (and E) cycles panels + overlay → overlay only → off. Double-click the icon to hide it.
Sign in is always in the main menu. That identifies you (Google openid). The session is remembered. The first time you publish a photo or open Drive folder, Google asks for Drive so the files stay in your Drive.
Contents
- Turn it on
- What’s on screen
- Gestures
- Add a photo
- Filter by sky type
- AI sky analysis (✨)
- Share and Extended UI
- Tips
Turn it on
- Open the menu.
- Extensions → Skypics. Playback stops.
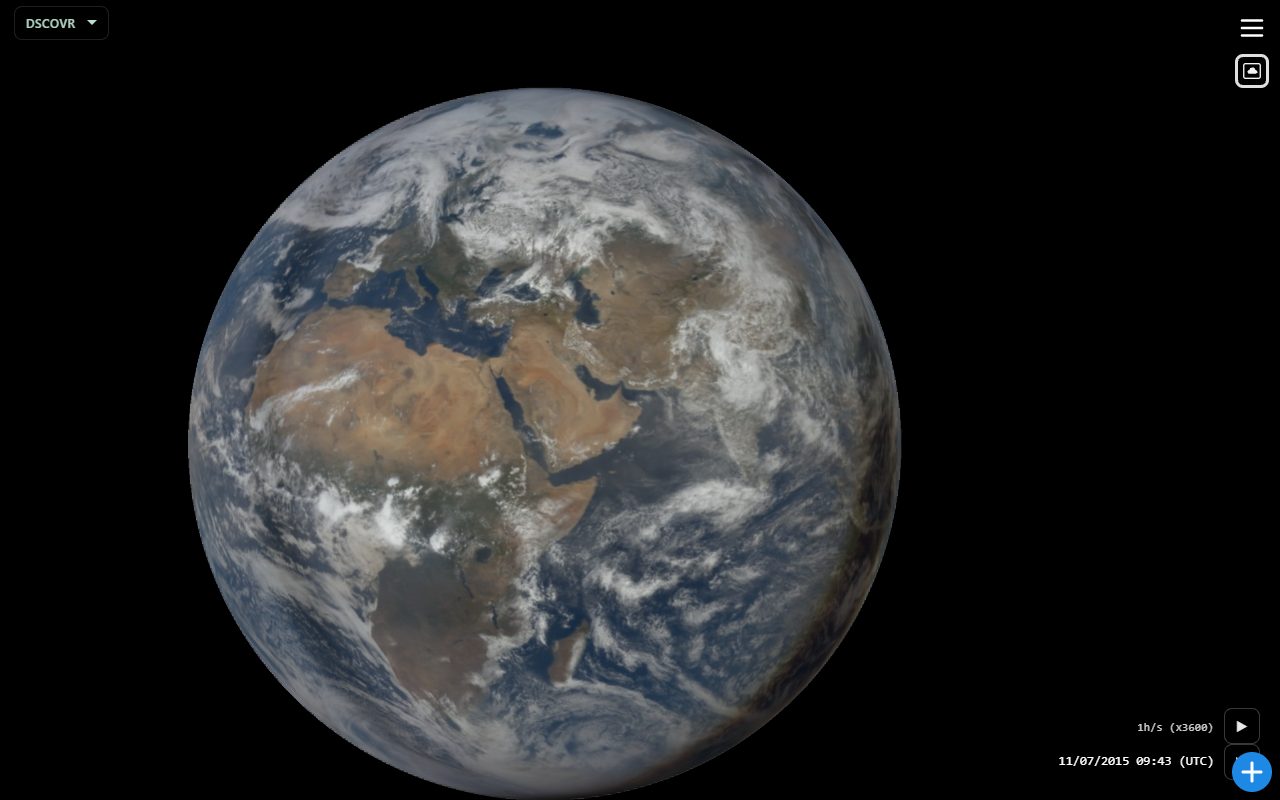
- Photos appear as thumbs on the globe and in the bottom strip if Extended UI is on.
What’s on screen
| Area | What it does |
|---|---|
| Globe thumbs | Photos placed by GPS at the time they were taken. |
| Day strip | Horizontal filmstrip of photos for nearby times. Drag to scroll. |
| Borders | Every photo has a thin gray border; the selected photo a wide white one (strip, timeline, globe, frustum). |
| True Color | App setting (aperture button under the menu, on by default): photos newer than the latest EPIC image move onto the last EPIC day (same time of day), so EPIC is always under them. Off: they stay at their real time, on Blue Marble with EUMETSAT-based clouds. Those moved photos look dimmer and see-through on the timeline and strip; the globe and the preview show them normally. |
| Owner avatar | Small profile picture of who took the photo, top-right of the photo info, strip and timeline photos. Hover it for the name; click it to keep the name shown until your next tap (the click also selects the photo). Hidden while Only my photos is on. |
| Filter bar | Top of the screen, next to the menu: filter photos by cloud type, weather, light, sky colour, effect or landscape. Hidden while a photo is selected. |
| Camera | Button under the extension toggle. Takes a sky photo. |
| Drive folder | Under Skypics in the Extensions menu while this extension is on. Opens your Skypics folder in Google Drive. |
| Photo popup | Full image on the globe after you click a thumb. Click the popup or press Escape to close. |
Gestures
| Control | Action |
|---|---|
| Drag strip | Scroll the photo strip horizontally. |
| Click card | Jump the EPIC clock to that photo’s time. |
| Click thumb | Open the photo popup on the globe. |
| Swipe preview | Finger left or up: next photo, finger right or down: previous. The next photo shows beside it as you drag: flick to switch, or let go still: it switches if the new photo covers most of the pane (60%), else springs back. A wide or zoomed photo pans first; once at its edge, lift and swipe again. |
| Camera | Take a photo with the button under the extension toggle. |
| Account | Sign in from the main menu (identity). Remembered after the first time. |
| Drive | Asked the first time you publish or open Drive folder. |
| Drive folder | Open your folder in Google Drive. |
Add a photo
- Sign in (menu → Sign in) with Google if you have not already.
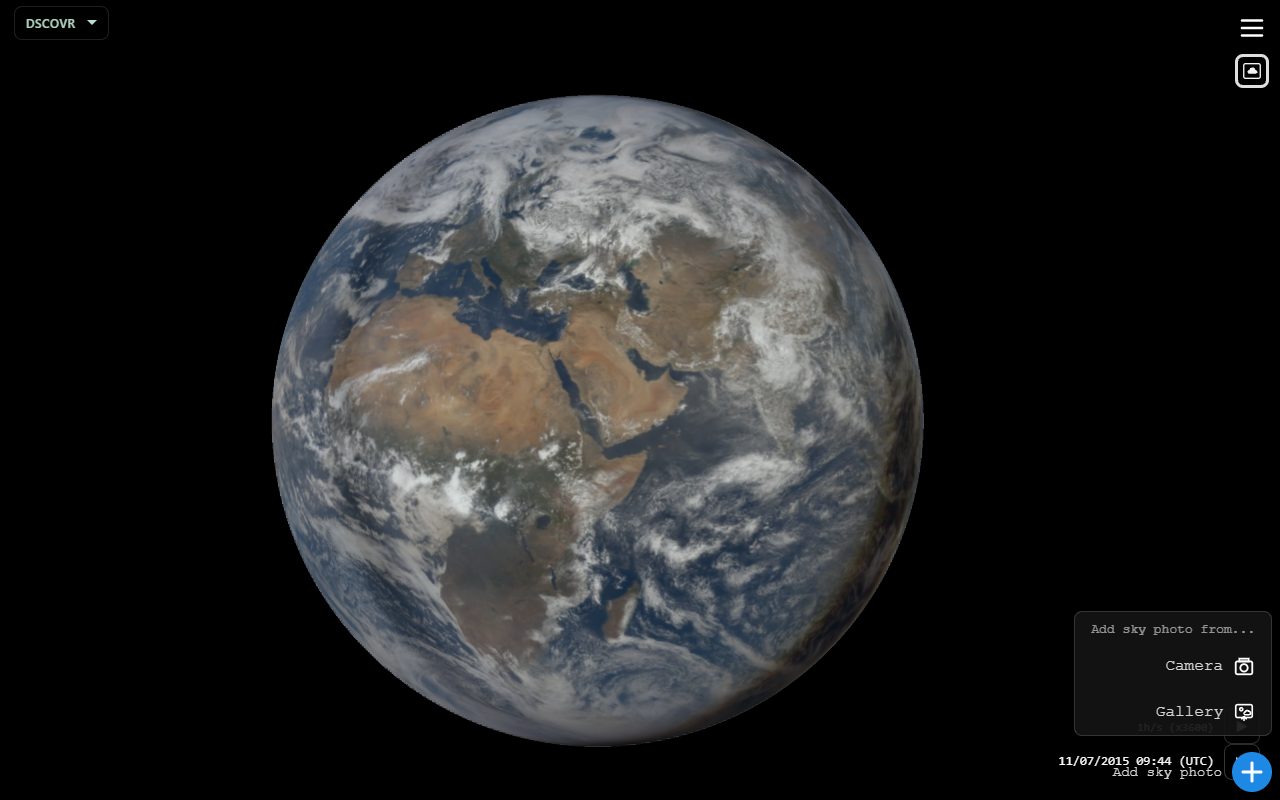
- Tap the camera button under the extension toggle.
- Take the photo. The globe zooms onto where you are. If that place is on the night side (off the lit EPIC disk), it switches instead to the geostationary view over your longitude, like LOCAL GEO.
- The app reads EXIF when it can:
- Time — when the photo was taken (aligns with EPIC).
- GPS — where to place it on Earth (green if present, pink if missing).
- It estimates sky coverage (how much of the frame is sky).
- After the shot, the photo shows in the preview half, in its frustum on the Earth. A last sky check runs, then tap Publish at the top of the photo. Google may ask for Drive here if it has not yet. A Thank you note confirms it.
Without GPS the photo may not sit on the globe. Without identity, publish will not upload.
On a phone PWA, the camera path may reload the page (WebGL). The capture is kept in IndexedDB and its preview with Publish comes back.
Filter by sky type
The filter bar works like the Weather one:
- The menu picks a category: Clouds, Weather, Light (daylight, sunrise / sunset, twilight, night), Sky colour, Effects or Landscape.
- One chip per type. A photo shows when one of its types is on. Only the current category filters: switching category turns all its chips on again and shows every photo.
- None / All clear or fill the chips.
- Search matches type names (for example cirrus or sunset). The chips are grayed out while you search.
The types come from the AI analysis and are saved with each photo. A photo not analyzed yet is hidden while a filter is on, and gets analyzed in the background (the search box shows Labeling photos… n left). The first time, that downloads the AI models (see below).
AI sky analysis (✨)
The ✨ button (next to i on a photo, and on the live camera) turns on AI sky analysis. It stays on as you move between pictures, until you press it again. The first time, it downloads its models (about 110 MB, once), and the ✨ button shows the progress. Everything runs on your device.
- On a photo: below the photo info, the likely cloud type, for example Cumulus 78% · Stratocumulus 8%, then one line per category the AI is sure about: Weather: Fair, Light: Sunrise / sunset, Sky colour: Deep blue, Effects: Rainbow, Landscape: Sea. Each photo is analyzed once and the result is shared with everyone. ↻ at the end analyzes that photo again. Settings → Clear AI cache re-analyzes each photo you open (once) for the rest of the session.
- Publish: checks the photo is mostly sky, outdoors, with no people, not too dark. If not, it says why (for example Person in frame) and Publish stays off.
- Live camera: ✨ turns on by itself when the camera opens. When something is wrong, a red caption says what (Point higher, Looks indoors, Person in frame, Too dark…). Otherwise the caption names the clouds in view, and shows nothing on a clear sky. You can always take the picture: a shot taken while ✨ approved the view publishes right away; any other shot is checked again before Publish, which stays off if it fails. For night skies, lower Settings → Camera AI: too dark below (or set it to Off).
These are best guesses. (unsure), (night) or (sun too low) mark the weaker ones.
Share and Extended UI
Share includes Skypics and, when a photo is selected, photo= plus that moment. Recipients may see Extended UI off — use E to show the strip and camera button again. Globe thumbs can still appear.
Tips
- Globe gestures still work, but play stays paused while Skypics is on.
- Open Help with Skypics on for the live gesture list.